
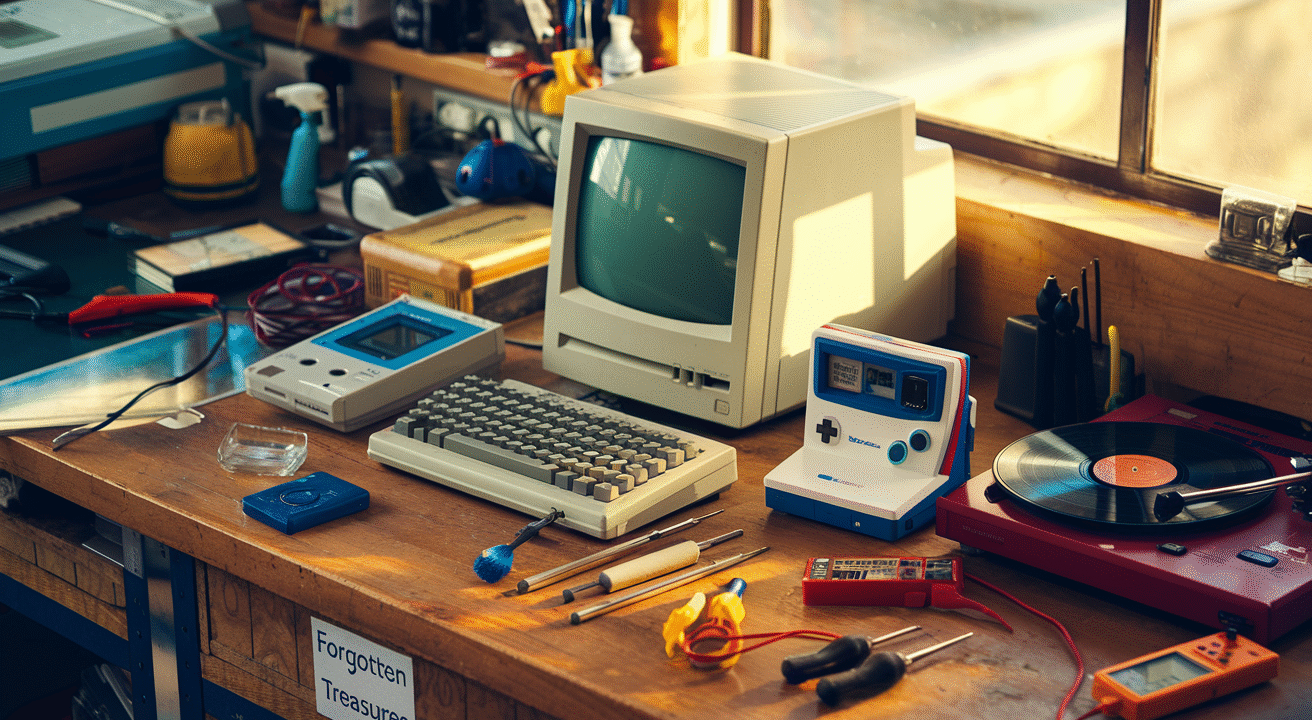
Ever dug up an original Game Boy from your parents’ attic and felt that rush of pure nostalgic joy? Then spent the next hour trying to scrape off decades of grime and wondering why the screen looks like it’s been through a war zone?
Vintage tech restoration isn’t just about making old gadgets pretty again. It’s about preserving the physical artifacts of our digital history – those clunky, beautiful machines that shaped how we interact with technology today.
In this guide to retro tech restoration, I’ll walk you through bringing those beloved dinosaurs back to life without destroying what makes them special. From cleaning techniques that won’t melt your Commodore 64 to finding replacement parts that won’t cost more than your car payment.
But here’s the real question – once you restore that perfect piece of tech history, will you keep it pristine on a shelf, or actually use it like we did back in the day?
Why Retro Tech Restoration is Booming in 2025
A. Nostalgia Drives Market Growth: Understanding the Emotional Appeal
Remember that rush you felt when you heard the dial-up internet sound again after 20 years? That’s exactly why retro tech restoration is absolutely exploding in 2025.
People aren’t just buying old tech – they’re hunting for pieces of their past. That chunky GameBoy or clicky mechanical keyboard isn’t just a device; it’s a time machine that takes you back to Saturday mornings playing Tetris or typing your first school paper.
The numbers back this up. Retro tech marketplaces saw a 78% increase in transactions since 2023, with millennials leading the charge. Why? Because holding that original iPod feels different than streaming on your phone. It’s tangible nostalgia.
What’s fascinating is how this trend crosses generations. Gen Z collectors who never experienced these technologies firsthand are now the fastest-growing demographic in retro tech communities. They’re discovering the joy of physical media and mechanical interfaces in a world that’s increasingly virtual.
B. Environmental Benefits of Restoring vs. Replacing
The environmental math is pretty simple here. Every vintage calculator, stereo, or computer you restore means one less device in a landfill and one less new device that needs manufacturing.
E-waste has become one of our biggest environmental challenges. In 2024 alone, humans generated 62 million tons of electronic waste globally. Only about 17% was properly recycled. The rest? Sitting in landfills leaching chemicals or being shipped to developing countries.
Restoration creates a beautiful alternative. A single restored vintage computer saves:
| Resource | Amount Saved |
|---|---|
| Raw Materials | 530-1,700 lbs |
| Water | 3,000+ gallons |
| Energy | 530+ kWh |
| CO₂ Emissions | 40-80 lbs |
The restoration economy has also sparked innovation in parts manufacturing. Companies now 3D print replacement components for devices that haven’t been manufactured in decades, extending their usable life without requiring full-scale industrial production.
C. Rising Value of Vintage Electronics as Collectibles
The investment potential of vintage tech has gone from hobby to serious business. Original Apple-1 computers that sold for $666 in 1976 now command over $500,000 at auction. Even “everyday” items like original Game Boys, Sony Walkmans, and first-generation iPods have seen their values increase 300-400% since 2020.
Condition matters enormously. A factory-sealed original Nintendo NES can fetch $10,000+, while a well-used one might bring only $100. This premium on mint condition has created a restoration economy where specialists can charge $500+ for professional refurbishment services.
What’s driving these values up? Scarcity plus nostalgia equals premium prices. Many vintage devices were treated as disposable at the time, so finding working examples becomes harder each year. Plus, celebrities and influencers showcasing their vintage tech collections have turned these items into status symbols.
The most interesting development is in authentication. With so much money at stake, specialized authentication services have emerged using forensic techniques to verify original components and manufacturing dates.
D. The Digital Detox Movement: Seeking Simpler Technology
There’s something incredibly refreshing about using a device that does exactly one thing perfectly.
The digital detox movement has embraced retro tech as the perfect antidote to the attention-fragmenting nature of modern devices. A record player plays music – it doesn’t ping you with notifications or tempt you with social media.
Studies show the average American checks their smartphone 344 times daily in 2025 – roughly once every 4 minutes. This constant connectivity has created genuine cognitive consequences, with attention spans measurably decreasing.
Enter retro tech as the solution. Sales of single-purpose electronic devices increased 43% year-over-year:
- Film cameras (up 67%)
- Typewriters (up 89%)
- Basic feature phones (up 32%)
- Dedicated music players (up 51%)
Mental health professionals have even started prescribing “tech downgrades” as part of treatment plans for anxiety and attention disorders. One study found that participants who switched to limited-function devices for two weeks reported 38% lower anxiety levels and 42% better sleep quality.
The irony hasn’t been lost on manufacturers, who now produce “new retro” devices – modern builds with intentionally limited functionality designed to help users focus on one task at a time.
Essential Tools for the Retro Tech Restorer
Must-Have Cleaning Supplies That Won’t Damage Vintage Materials
Jumping into the world of retro tech restoration without the right cleaning supplies is like trying to fix a spacecraft with a hammer. Most vintage gadgets need special care – those 80s plastics weren’t built for today’s harsh chemicals!
Start with isopropyl alcohol (91% or higher) – it’s the holy grail for circuit board cleaning. Pair it with lint-free microfiber cloths that won’t leave residue on those delicate surfaces.
For those yellowed plastic cases, skip the bleach! Grab some Retr0bright solution or make your own using hydrogen peroxide and OxiClean. This stuff works magic on sun-damaged plastic without eating through it.
Don’t forget about contact cleaner for those finicky buttons and switches. DeoxIT is worth every penny – a tiny bottle lasts forever and can bring dead controls back to life.
Oh, and compressed air is non-negotiable. But here’s a pro tip: skip the canned stuff and invest in a reusable electric duster. Your wallet (and the environment) will thank you in the long run.
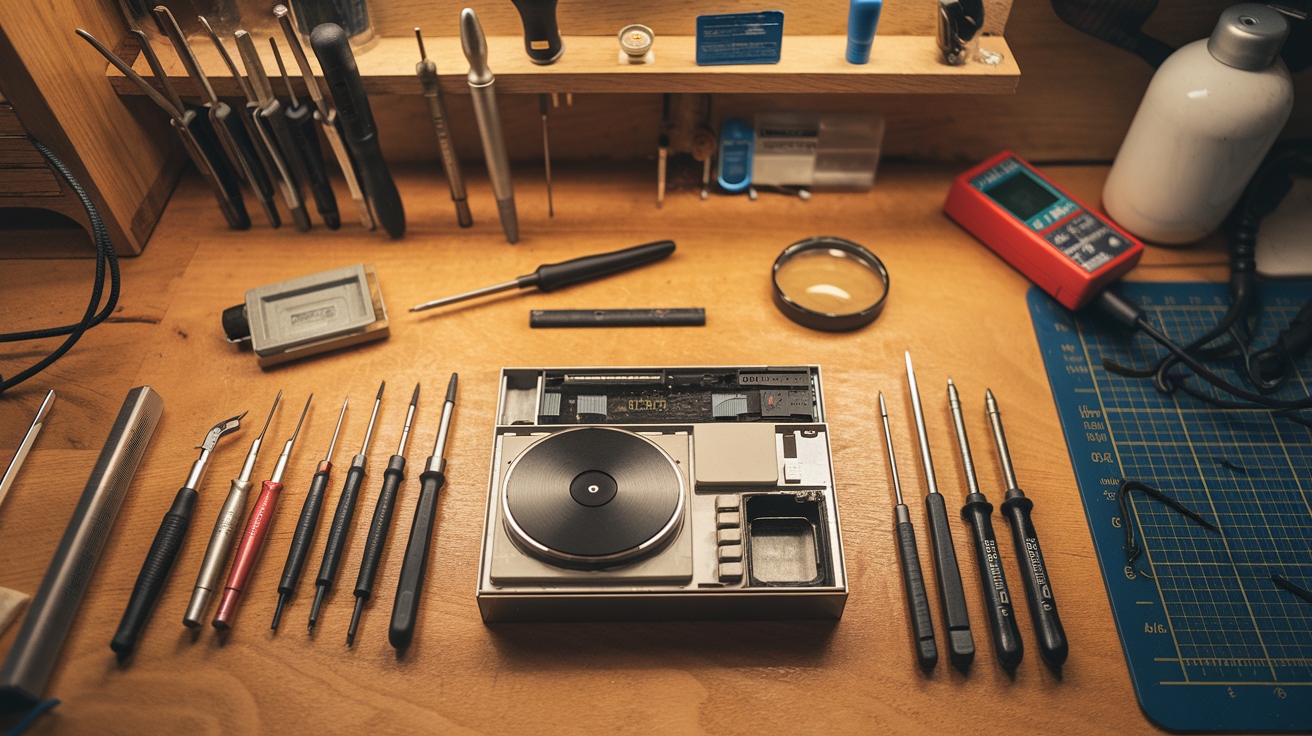
Specialized Repair Tools Worth Investing In
Ever tried opening an original Game Boy with regular screwdrivers? Yeah, good luck with that. Vintage tech demands specialized tools.
First on your shopping list: a quality set of precision screwdrivers with those weird bits you’ve never seen before. Nintendo used tri-wing screws, Apple had pentalobe, and don’t get me started on those tiny torx heads hiding inside vintage cameras.
Tool               Used For                          Approximate Cost
Security Bit Set   Proprietary screws                $15-30
Soldering Station  Component replacement             $80-150
Multimeter         Voltage/continuity testing        $25-60
Desoldering Pump   Removing old solder              $10-20
Tweezers Set       Handling tiny components          $15-25
A temperature-controlled soldering station is absolutely worth the investment. Cheap irons run too hot and will fry delicate vintage components faster than you can say “transistor.”
Grab some quality flush cutters and a set of anti-static tweezers too. Working with tiny components requires precision, and chubby fingers just won’t cut it.
Diagnostic Equipment for Troubleshooting
The difference between a successful restoration and endless frustration often comes down to diagnostic equipment.
A good multimeter is your best friend. Don’t cheap out here – get one that measures voltage, resistance, continuity, and capacitance. When you’re trying to figure out why that 1985 Walkman isn’t spinning, being able to trace voltage through the circuit board is priceless.
For computer equipment, logic probes and oscilloscopes are game-changers. A basic logic probe will tell you if signals are flowing correctly through digital circuits without breaking the bank.
Signal generators help test audio equipment. Is that vintage receiver not producing sound? Inject a test signal and trace where it dies.
USB logic analyzers have revolutionized vintage computer repair. These affordable devices connect old hardware to modern computers for deep-level diagnostics.
My favorite tool discovery? The ESR meter. It quickly identifies bad capacitors – usually the culprit in vintage electronics failures – without requiring desoldering.
Safety Gear for Working with Older Electronics
Listen up – vintage electronics can be dangerous. I’m not being dramatic.
CRT monitors and TVs hold lethal charges even when unplugged. Never work on these without discharge tools and insulated gloves rated for high voltage. That capacitor can hold enough juice to stop your heart – I’ve seen the scars on veteran techs who learned this lesson the hard way.
Anti-static wrist straps are non-negotiable when working with computer components. One tiny static zap can fry irreplaceable chips.
Good ventilation or a fume extractor is essential when soldering. Those lead-based solders in vintage equipment release nasty fumes you definitely don’t want in your lungs.
Safety glasses protect your eyes from flying bits of solder and accidental component “pops” – trust me, capacitors can explode when they fail.
Fire safety equipment should be within arm’s reach. A small silicon mat provides a heat-resistant work surface, and keep a fire extinguisher nearby – those vintage power supplies can surprise you!
Digital Resources and Communities for Technical Support
The greatest tool in your restoration arsenal isn’t something you can hold – it’s knowledge, and it’s mostly free online.
Original service manuals are gold, and sites like Archive.org and BAMA (Boat Anchor Manual Archive) host thousands. These docs show exact component values and testing procedures straight from the manufacturers.
Forums like Vintage Computer Federation, AudioKarma, and r/VintageElectronics on Reddit are filled with experts who’ve faced every problem you’ll encounter. Post clear photos and detailed descriptions, and you’ll likely get solutions within hours.
YouTube has become an incredible resource with channels dedicated to specific restoration niches. The 8-Bit Guy, Adrian’s Digital Basement, and VWestlife offer step-by-step repairs you can follow along with.
Don’t overlook Discord communities! Real-time troubleshooting with fellow enthusiasts has saved countless projects from the scrap heap.
Remember to give back to these communities once you’ve built your skills. That obscure fix you discovered might save someone else’s prized vintage gadget down the road.
Restoring Classic Computing Devices
A. Bringing Apple II and Early Macintosh Computers Back to Life
Remember those beige boxes that changed the world? Apple II and early Macintosh computers aren’t just collectors’ items—they’re time machines waiting to be fired up again.
The trick with Apple II restoration starts with power supply recapping. Those old capacitors are almost certainly leaking by now. Replace them before you even think about powering up, or you’ll fry the motherboard faster than you can say “Oregon Trail.”
Next up: cleaning those keyboard switches. Pop off each keycap (carefully!) and use compressed air and isopropyl alcohol. Your fingers will thank you.
Early Macs have their own quirks. The original Macintosh and SE models often suffer from “simasimac” syndrome—a weird screen flickering caused by aging analog boards. Recapping those boards fixes most issues.
Hard drives are usually toast in these machines. The good news? Modern solutions like SCSI2SD adapters let you use SD cards instead of those unreliable old drives.
For software, sites like Macintosh Garden and Asimov Archive are goldmines of vintage programs. Just grab a USB floppy emulator, and you’re set.
B. IBM PC Restoration: Parts Sourcing and Common Issues
Bringing an old IBM PC back from the dead? You’re in for some detective work.
Original IBM parts are getting scarce, but don’t panic. A thriving community of sellers specializes in these vintage components. eBay and specialized forums like Vintage-Computer.com are your best friends here.
The most common failure points? Clock batteries that leak acid all over the motherboard is problem #1. If you see green corrosion, you’ll need to neutralize it with vinegar and carefully clean the affected traces.
Power supplies in these old tanks are another headache. The capacitors dry out after decades, and the voltage regulation gets wonky. Don’t risk your precious motherboard—recap or replace the power supply entirely.
Memory expansion cards often need new contacts. A simple pencil eraser gently applied to the edge connectors works wonders.
For those dreaded IBM keyboard issues, a thorough cleaning of the membrane switches usually brings them back to clicky perfection.
C. Reviving Gaming Consoles from Atari to Nintendo 64
Old gaming consoles can be stubborn beasts to resurrect, but the nostalgia payoff is worth it.
Atari 2600s are tank-like in their simplicity—most just need a good cleaning and maybe new video cables. The cartridge slot contacts are usually the culprit when games don’t load. A credit card wrapped in alcohol-soaked cloth works miracles here.
Nintendo Entertainment Systems have that infamous blinking light issue. Forget the old “blow in the cartridge” trick—it actually makes things worse! Instead, disable the zero insertion force connector or replace it with a new one. Your games will load first time, every time.
Sega Genesis consoles often develop audio issues. If yours is sounding tinny, you’re likely looking at dried-out capacitors on the sound board.
The Super Nintendo’s biggest enemy? Yellowing plastic. Retrobright (hydrogen peroxide plus UV light) can restore that gray beauty to its original glory.
For Nintendo 64s, the analog sticks are almost always shot. Modern replacement sticks with better durability are widely available online and make Mario 64 playable again.
D. CRT Monitor Repair and Maintenance
Those glorious glass tubes that dominated our desks for decades need special care. And yes, they can still be dangerous even unplugged.
First warning: CRTs store high voltage. Always discharge the tube properly before working inside. A high-resistance screwdriver connected to ground wire works, but if you’re not comfortable, find a pro.
Geometry issues are common in aging CRTs. If your screen looks distorted, diving into the service menu can help. Each manufacturer has different key combinations to access these hidden settings.
Faded displays usually point to worn electron guns. Not much can be done there, but you can often boost the heater voltage slightly to extend life.
For those annoying horizontal lines, check the vertical deflection circuit. Recapping the vertical section fixes this in about 80% of cases.
Remember those degaussing coils? They prevent color distortion from magnetic buildup. If your old monitor has funky colors, try the degauss button. If it doesn’t have one, slowly waving a degaussing wand about 6 inches from the screen works wonders.
Audio Equipment Restoration Techniques
Vinyl Record Player Repair and Upgrades
Those dusty record players hiding in attics? They’re gold mines waiting to happen. The trick is knowing how to bring them back to life properly.
First things first—clean everything. Use isopropyl alcohol for the electrical components and a soft microfiber cloth for the chassis. Don’t rush this step! Decades of grime can hide serious issues.
The tonearm is your priority. Check if it moves smoothly across the platter without resistance. If it’s stiff, a drop of sewing machine oil at the pivot point works wonders. Never force it!
Most vintage turntables need a new belt. It’s typically a $10-20 part that makes a world of difference. Measure the old one carefully or check the model specs online.
Want to really increase value? Replace the cartridge and stylus with a modern equivalent. Ortofon and Audio-Technica make great options that preserve vintage sound while improving tracking.
Component | Common Issue | DIY Fix | Professional Fix
---------|------------|---------|----------------
Platter | Wobble | Level adjustment | Bearing replacement
Tonearm | Skipping | Balance adjustment | Pivot rebuild
Cartridge | No sound | Connection cleaning | Full replacement
Motor | Slow/fast | Belt replacement | Motor rebuild
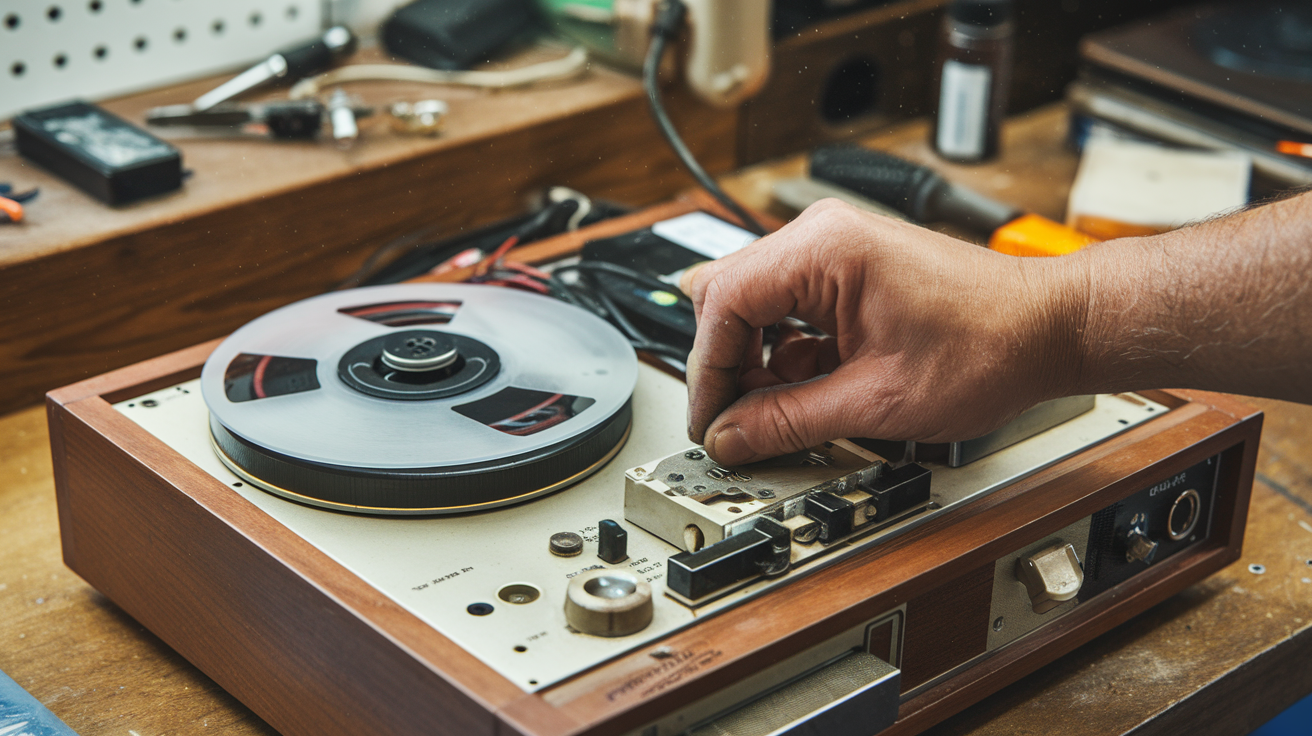
Cassette Deck Mechanics: Belts, Motors, and Heads
Cassette decks are making a shocking comeback, and fixing them is simpler than you’d think.
Rubber belts are always the first to go. They turn brittle and snap, or stretch and slip. Replacing them transforms a non-working deck into a working one in minutes. Sites like TurntableBelts.com have nearly every size imaginable.
The playback/record heads gather oxide over time. A cotton swab with rubbing alcohol removes this build-up—just be gentle! You’ll hear an immediate difference in sound quality.
Pinch rollers harden with age. If yours is rock-solid instead of slightly squishy, replace it. A hardened roller damages tapes and causes warbling playback.
Speed issues? That’s usually the capstan. Clean it thoroughly with alcohol and a lint-free cloth. If it’s still running fast or slow, the motor capacitors need replacing—a job for someone comfortable with soldering.
Many collectors overlook the counter belt. It’s tiny but crucial for tracking tape position. A broken one makes a deck far less valuable to serious enthusiasts.
Amplifier Recapping and Electrical Safety
Vintage amplifiers aren’t just beautiful—they’re often built better than modern ones. But there’s a catch: those capacitors inside are ticking time bombs.
Electrolytic capacitors dry out over decades. When they fail, they can damage other components or even start fires. Recapping—replacing all electrolytic capacitors—is the single most important restoration for any vintage amp.
Before you even think about plugging in that vintage Marantz or Pioneer, check for obvious damage. Frayed power cords are an immediate no-go. Replace them before proceeding.
Always use a variac when testing an unknown amplifier. This lets you slowly increase voltage while monitoring for issues like excessive current draw or burning smells.
Deoxidize all potentiometers and switches with contact cleaner. Scratchy volume controls and intermittent sound usually disappear with this simple step.
Safety isn’t optional. Amplifiers store charge in capacitors even when unplugged. Always discharge capacitors before touching anything inside. Use a 100k ohm resistor connected to both terminals of large filter capacitors.
Speaker Refoaming and Sound Quality Enhancement
The foam surrounds on vintage speakers almost always disintegrate. It’s just physics—foam breaks down over time. But replacing these surrounds (refoaming) can bring legendary speakers back from the dead.
Speaker refoaming kits cost around $20-30 per speaker and include the foam surround, adhesive, and usually shims for alignment. The process takes patience but isn’t technically difficult.
The trick is centering the cone perfectly. Use the included shims or make your own from index cards cut into strips. Place them evenly around the speaker while the glue dries.
Don’t forget the dust caps! These small dome covers in the center of the speaker cone protect the voice coil. If they’re damaged, replacement options range from perfect factory matches to generic replacements.
Crossovers often need attention too. Capacitors in crossover networks age just like those in amplifiers. Replacing them can dramatically improve sound quality, especially in high-end speakers.
For real audiophile restoration, consider measuring the frequency response before and after. Apps like REW (Room EQ Wizard) paired with a calibrated microphone can show you exactly what your restoration has accomplished.
Photography Equipment Restoration
Film Camera Mechanics and Light Seal Replacement
Remember those dusty film cameras in your parents’ attic? They might be sitting on a gold mine. Vintage cameras from brands like Leica, Hasselblad, and even certain Nikon models now fetch thousands on collector markets.
But here’s the catch – they need to work properly.
Most vintage cameras suffer from deteriorated light seals, those little foam strips that keep light from leaking in and ruining your shots. They literally turn to goo after decades. Replacing them isn’t rocket science, but it requires patience and precision.
First, grab some cotton swabs and isopropyl alcohol to clean out the old gummy residue. Then cut new light-tight foam (available online for about $15) to the exact dimensions needed. Many camera enthusiasts use pre-cut kits specific to popular models.
The trickiest part? The mirror bumpers in SLR cameras. These need to be thick enough to dampen mirror slap but thin enough not to interfere with operation.
Shutter mechanisms are another restoration headache. Those intricate clockwork assemblies often get sticky or sluggish. A careful cleaning with naphtha (lighter fluid) can work wonders on metal parts without damaging them.
The payoff is huge. A properly restored Nikon F2 that might cost $100-200 in non-working condition could fetch $500-800 once restored. And rare Leicas? We’re talking $2,000 to $10,000 depending on the model and condition.
Lens Cleaning and Fungus Removal Methods
Glass is where the money lives in vintage photography. A pristine lens from decades ago can still deliver stunning results that modern photographers crave.
Fungus is the biggest enemy here. Those spiderweb-like patterns you see in old lenses? That’s fungus eating away at the lens coatings and sometimes even etching the glass itself. Once it reaches that stage, the lens value plummets.
Catching it early is crucial. For mild cases, exposing the lens to UV light for several days can kill the fungus. For more serious infestations, you’ll need to disassemble the lens – a task not for the faint-hearted.
A 50/50 mixture of hydrogen peroxide and ammonia works wonders for cleaning fungus, but you must be extremely careful not to let it touch lens cement or it’ll separate the elements.
Regular cleaning is simpler but demands a gentle touch. Never use regular tissues or paper towels! They’ll scratch your glass faster than you can say “depreciation.” Invest in proper microfiber cloths and lens cleaning solution.
For stubborn smudges, breathe gently on the glass and wipe in a circular motion from center outward. That $5 lens cleaning kit might just help your $1,000 vintage glass stay that way.
Polaroid Camera Resurrection Techniques
The instant photography revival has turned dusty old Polaroids into serious cash cows. A working SX-70 model that someone might have dumped for $20 at a garage sale ten years ago now sells for $300-400 in working condition.
First, check the battery compartment. Many Polaroids suffered from battery acid leakage that corroded the contacts. A mixture of white vinegar and water can neutralize and clean mild corrosion, while more severe cases might need sandpaper and metal polish.
The rollers are your next focus. Those rubber rollers that squeeze developing chemicals across the film often get sticky or develop flat spots. Cleaning them with isopropyl alcohol and rotating them manually can bring them back to life.
The electronics in these cameras are surprisingly robust, but the light meters often need recalibration. If your camera consistently produces dark or light images, adjusting the exposure compensation wheel can work wonders.
For SX-70 models specifically, the folding mechanism often sticks. A tiny drop of sewing machine oil on the hinges (and I mean tiny – we’re talking toothpick application) can make it fold smoothly again.
The real magic happens when you pair a resurrected Polaroid with modern instant films from Polaroid Originals (formerly Impossible Project). The combination of vintage hardware with fresh film stock fetches premium prices from hipsters and photographers alike.
Monetizing Your Retro Tech Restoration Skills
Building an Online Restoration Business
Got old tech gathering dust in your basement? Your vintage gadget restoration skills could be worth serious cash. The market for refurbished retro tech is booming in 2025, with collectors willing to pay premium prices for expertly restored pieces.
Start by creating a dedicated website or Etsy shop showcasing your restoration portfolio. High-quality before-and-after photos are absolute gold here. People need to see the magic you work on that grimy 1984 Macintosh or yellowed Nintendo.
Social media is your best friend when launching. Instagram and TikTok specifically love restoration content – those satisfying transformation videos can go viral overnight. I’ve seen restorers gain 10,000+ followers from a single original Walkman restoration time-lapse.
Don’t forget to niche down. Becoming “the Apple II guy” or “the vintage calculator queen” helps you stand out in search results and builds expertise that commands higher prices.
Creating Tutorial Content for Passive Income
The beauty of restoration skills? You can make money teaching others. Detailed restoration guides on YouTube can generate substantial ad revenue over time. One restorer I know makes $3,000 monthly from a channel dedicated to fixing vintage gaming consoles.
Consider these content platforms:
- YouTube (highest earning potential)
- Patreon (subscription model for exclusive content)
- Skillshare (one-time course creation)
- Substack (newsletter with paid subscribers)
The key is creating content that solves specific problems. “How to remove yellowing from white plastic” or “Fixing dead pixels in Game Boy screens” attracts more views than general content.
Package your knowledge into downloadable restoration guides or ebooks. These can sell for $15-30 each with zero ongoing effort after creation.
Flipping Restored Tech for Profit
The buy-fix-sell model remains incredibly profitable if you know what to look for. Estate sales, thrift stores, and Facebook Marketplace are goldmines for undervalued tech.
Some items with massive ROI potential:
- Original iPods (especially unopened)
- Nokia 8110 “Matrix phones”
- Sony Walkman models
- Vintage calculators (especially HP models)
- Early gaming consoles in working condition
The trick? Look for common issues you can easily fix that scare away casual buyers. A non-working Commodore 64 might sell for $50, but after a power supply replacement and cleaning (maybe $20 in parts), it could fetch $250-300.
Timing matters too. Tech anniversaries drive up prices – when a classic gadget hits its 30th or 40th birthday, prices typically spike as nostalgia kicks in.
Offering Repair Services to Collectors and Museums
Museums, private collectors, and even film production companies need skilled tech restorers. They’re often willing to pay premium rates for specialists who can bring historical pieces back to life.
Start by reaching out to local technology museums with your portfolio. Many operate on limited budgets but outsource restoration work for special exhibits. Film and TV production companies also need authentic vintage tech for period pieces.
Build relationships with collectors through forums and social media groups. Offering free consultations can lead to high-value restoration projects.
Consider creating service packages:
- Basic restoration (cleaning, minor repairs)
- Full restoration (complete disassembly, deep cleaning, parts replacement)
- Museum-quality restoration (original parts, period-accurate repairs, documentation)
Documentation is crucial here. Keeping detailed records of your restoration process adds value and builds credibility with serious collectors who care about authenticity.
Preserving the History and Legacy of Vintage Technology
Documenting Your Restoration Process
When you’ve found a vintage gadget worth preserving, documenting your restoration journey isn’t just satisfying—it adds tremendous value. Take photos before you even touch that dusty Apple Newton or IBM ThinkPad. Those “before” shots will make the “after” reveal so much more impressive.
Create a detailed log of each step. What parts needed replacing? Where did you source that impossible-to-find transistor for your 1985 Nintendo? This documentation becomes part of the item’s provenance and authenticity story.
Many collectors use video to capture their restoration process. There’s something hypnotic about watching someone carefully disassemble a Sony Walkman, clean each component, and bring it back to life. These videos often rack up thousands of views online—turning your hobby into potential passive income.
Creating Period-Accurate Displays
Nothing kills the vibe of a vintage tech collection faster than anachronistic presentation. That pristine Commodore 64 deserves better than sitting on an IKEA shelf next to your Amazon Echo.
Consider creating environment displays that match the era. A 1980s computer deserves a desk setup with period-appropriate accessories—maybe a desk organizer, reference manuals, and even software boxes.
Lighting matters tremendously. Harsh LEDs can make vintage plastic look cheap. Opt for warmer, diffused lighting that mimics the office environments where these devices originally lived.
Many serious collectors even hunt down original packaging, which can sometimes be worth more than the gadget itself. That original iPhone box? It’s not just cardboard—it’s part of tech history.
Connecting with Technology Museums and Archives
Your meticulously restored Atari might deserve more than just a spot in your home office. Technology museums and archives are constantly looking to expand their collections, and your restoration expertise makes you a valuable potential partner.
Start by reaching out to local museums. Many have “technology through the ages” exhibits and welcome loans or donations from private collectors. Some even offer financial compensation or tax benefits for significant donations.
Digital archives need your help too. Projects like the Internet Archive actively preserve software, manuals, and documentation from vintage systems. Your carefully preserved WordPerfect 5.1 manuals could fill important gaps in their collection.
Don’t overlook university archives either. Many computer science departments maintain historical collections for educational purposes. Your vintage calculator collection might inspire the next generation of engineers.
Teaching Younger Generations About Tech Evolution
Kids today can’t imagine a world without touchscreens and instant connectivity. That’s why showing them a Motorola brick phone or explaining what “dial-up internet” sounded like becomes almost an archaeological expedition.
Organize show-and-tell sessions at local schools. Bring working examples when possible—nothing beats the look on a kid’s face when they realize phones used to be attached to walls or that computers once stored data on cassette tapes.
Create comparison demonstrations that show technological progression. Set up a typing race between a mechanical typewriter, an electric typewriter, and a modern keyboard. It viscerally demonstrates how far we’ve come.
Family tech nights can be particularly effective. Have grandparents explain how they used vintage tech in their daily lives. These personal stories transform old gadgets from curious relics into meaningful connections to our shared human experience.
Bringing New Life to Vintage Devices
The resurgence of retro tech restoration in 2025 reflects our collective desire to reconnect with simpler times while appreciating the craftsmanship of yesteryear. As we’ve explored, this growing movement isn’t just about nostalgia—it’s about sustainability, learning valuable skills, and preserving technological heritage that might otherwise be lost to time. From vintage gaming consoles to classic stereo equipment, these restored pieces offer both functionality and a unique aesthetic that modern devices often lack.
Whether you’re a seasoned tinkerer or simply curious about giving new life to an old device, now is the perfect time to join the retro tech community. Start small with a basic restoration project, connect with fellow enthusiasts online, or visit local repair cafés to learn hands-on techniques. Remember that each piece you restore not only provides personal satisfaction but contributes to a broader culture of repair and reuse that challenges our throwaway society. Your next technological treasure might be waiting in an attic, thrift store, or online marketplace—ready to be rediscovered and restored to its former glory.
Recent Post


Gallery


No Comments